How I vibe coded React Native Time tracker app using Claude code
Hi folks! Today I want to share a very interesting experiment. I’d never built a mobile app in my life. Yet, in just 3 hours, I went from ideation and reasoning about the stack to having a compiled, working APK installed on my phone.
But the speed wasn't even the most exciting part of this project. The real magic was how this approach completely flipped the way I learn frameworks. Here is how I vibe-coded LogChit, a simple, distraction-free time tracker, and why interrogating a codebase you actually care about beats standard tutorials every single time.
The Problem: The Play Store Dilemma
I wanted to maintain an 8+ hour daily productivity target. Naturally, I needed a way to log my time. I went to the Google Play Store looking for a simple tool to track my hours across different projects with basic time and project filters.
I scrolled through dozens of apps. Most of them fell into one of two traps:
- Feature Bloat: Beautiful apps, but packed with too many things. They were distracting, which is the exact opposite of what a productivity app should be.
- Paywalls: The few apps that had a simple, clean interface locked project creation behind a subscription or a price tag just to create more than three projects.
I wanted something dead-simple: sign up, choose or create a project on the same screen, start the timer, end it when done, and see my logged hours on a simple dashboard.
Since the market didn't have what I needed for free, I decided to build it myself.
The Stack: React Native + Expo + Supabase
Since I didn’t want to spend weeks learning mobile app development from scratch, I did some digging with Claude to find the fastest path to production. I had two requirements:
- No backend management: I didn't want to set up, secure, or maintain a separate API server.
- Rapid compilation & testing: I needed to see changes immediately.
Claude recommended React Native + Expo paired with Supabase.
Here is why this stack was perfect for a first-time mobile dev:
- Expo (SDK 57): While Expo adds some bundle size weight, it eliminates all the pain of configuring Android Studio, Gradle, and CocoaPods. I could write TypeScript and preview the app instantly on my physical device using the Expo Go client.
- Supabase with Row Level Security (RLS): Supabase acted as a database-as-a-service. By writing Postgres schema files with RLS policies, the mobile client could talk directly to the database securely. There was absolutely zero backend server code to write.
- Free Infrastructure: Supabase's free tier (500MB DB, 50k MAU, 5GB egress) is more than enough for personal use. Since free projects pause after 7 days of inactivity, my own daily tracking naturally keeps it active for $0/month.
Designing the App in 3 Hours
After setting the color palette (calm dark theme) and detailing the features, Claude generated the files. Here is the structure of the app we built:
├── App.tsx             # Application Entry & Navigation
├── AuthScreen.tsx      # Email-based sign-up and log-in
├── TimerScreen.tsx     # The core active timer interface
├── SummaryScreen.tsx   # Dashboard with charts and filters
├── SettingsScreen.tsx  # User account settings
├── supabase.ts         # Supabase Client Initialization
├── theme.ts            # Global styling system
├── schema.sql          # Postgres Schema & RLS Policies
└── app.json            # Expo configuration
1. The Timer Screen
The active timer screen has a clean, minimal UI. It lets you create or select a project tag on the fly. To prevent data loss, the active timer state survives app restarts and operates with an offline queue mechanism in case of spotty internet.
2. The Summary Dashboard
This screen aggregates and displays logs, showing:
- Total hours tracked.
- Total session count.
- Timestamps of sessions.
- Quick filters for Today, 7 Days, 30 Days, and All.
- A long-press action to delete any incorrect log.
3. Smart Database Design
Instead of performing complex client-side math, we structured the database schema to store the raw session details:
create table time_entries (
  id uuid default gen_random_uuid() primary key,
  user_id uuid references auth.users not null,
  project_name text not null,
  started_at timestamp with time zone not null,
  ended_at timestamp with time zone not null,
  duration_seconds integer generated always as (
    extract(epoch from (ended_at - started_at))
  ) stored,
  created_at timestamp with time zone default timezone('utc'::text, now()) not null
);
By using Postgres's generated always as (...) stored column, the database automatically calculates the duration_seconds from our start and end timestamps. The mobile app only handles simple display formatting (converting seconds to hours and minutes).
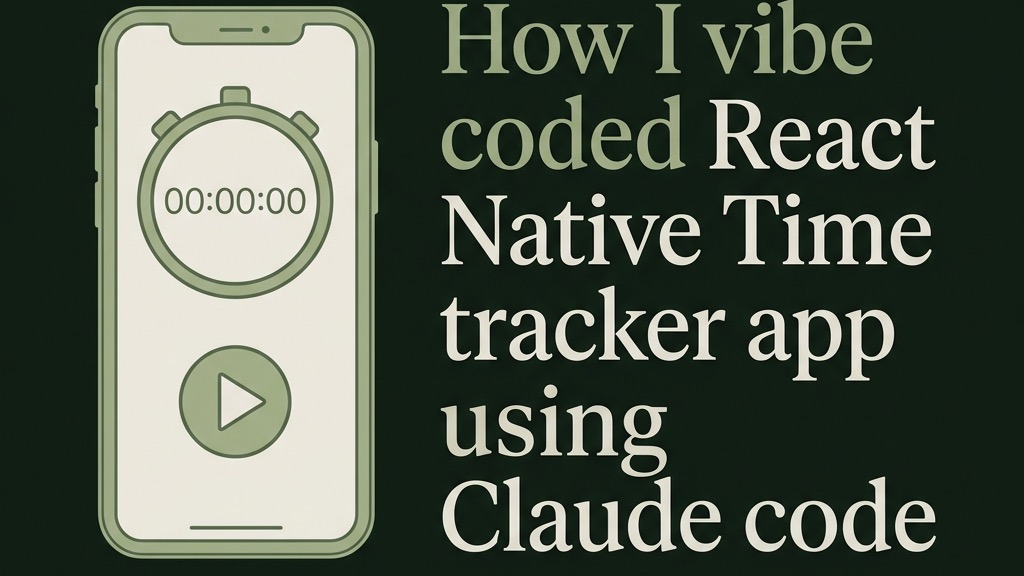
The Widescreen 16:9 Blog Cover
To match the blog's aesthetic, I generated a 16:9 dark-forest-themed banner showcasing a flat vector line art of the stopwatch alongside the title:
The Real Revelation: Codebase Interrogation
The most interesting part of this project wasn’t the speed of writing the code—it was the learning process after the code was generated.
Normally, if you want to learn React Native, you spend hours watching tutorials, copying code you don’t understand, and fixing environment bugs. By the end, you barely remember how things connect.
Instead, I used vibe coding to get the working version up. Once the app compiled and ran, I sat down and read through the generated files. I spent hours asking Claude questions like:
- "Why did we use
useEffecthere instead of storing it in local state?" - "Explain the exact rendering flow of the dashboard when a new entry is added."
- "How does Supabase's RLS prevent user A from seeing user B's projects?"
Because the subject of the questions was an app I actually wanted to use, the concepts clicked instantly. I understood state management, hook lifecycles, and database security in those few hours of codebase Q&A far better than I would have in a month of tutorials.
What’s Next: The 21-Day Habit Challenge
I have set a simple rule: if I use this app for 21 days straight without forcing myself, I will publish it to the Google Play Store.
To keep the app clean and distraction-free, I will avoid ads entirely. Instead, I’m thinking of a tiny, simple ₹99 / $1.99 one-time purchase to unlock power features like exports or home-screen widgets(but only if I find this app interesting).
If you want to try the app yourself right now, you can download the APK here: 👉 Download the APK (http://bit.ly/4h9UEjS)
Note: AI was used to assist this article to structure and spell checks.